by Pizzeria | Apr 30, 2024 | Pizza Guides
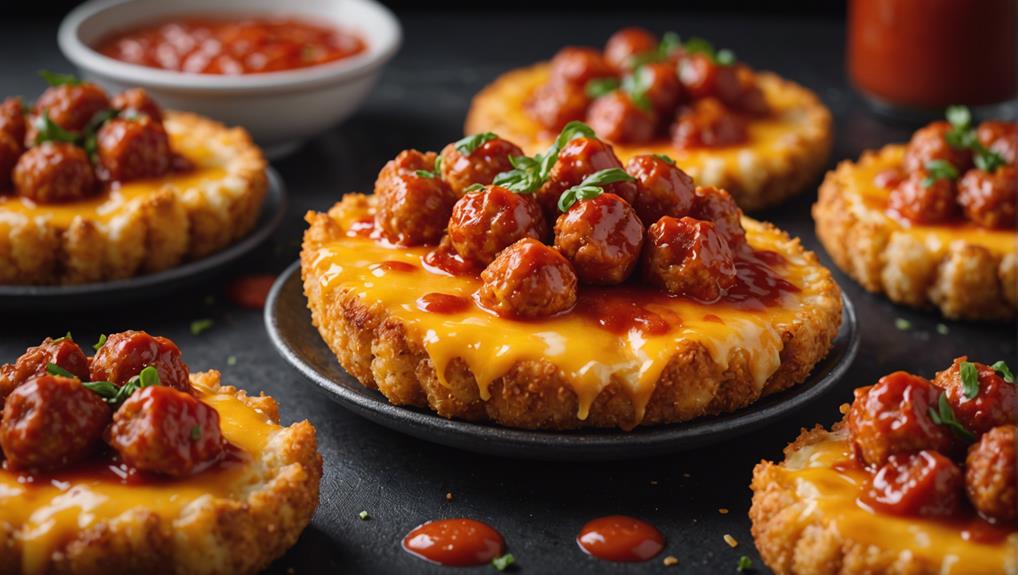
If you're craving a unique twist on pizza night, imagine a crispy, cheesy creation that combines the best of two comfort foods. Picture a golden crust topped with a rich tomato sauce, gooey cheese, and something unexpected yet oh-so-satisfying. This innovative recipe takes classic tater tots and transforms them into a delightful pizza topping that will surprise your taste buds. As you explore this intriguing fusion of flavors and textures, you'll find yourself intrigued by the delicious possibilities that await on each bite.
Key Takeaways
- Prepare crispy tater tots with seasoned coating for ultimate crunch.
- Create a rich tomato pizza sauce with fresh ingredients and herbs.
- Layer sauce evenly on pizza crust to avoid sogginess.
- Generously top with shredded mozzarella for gooey perfection.
- Bake at 400°F for 20-25 minutes until golden brown and crispy.
Ingredients Needed
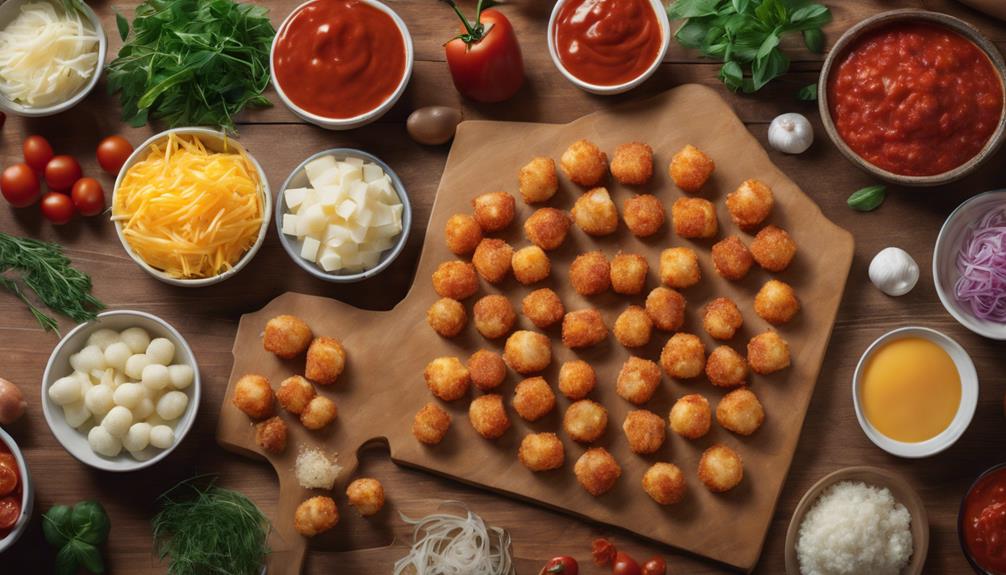
To make the Tater Tot Pizza, gather the following ingredients. You'll need a bag of crispy tater tots, a ready-made pizza crust, marinara sauce, shredded mozzarella cheese, and any flavorful toppings you desire. Get creative with your twists! Consider adding crispy bacon, diced bell peppers, sliced mushrooms, or juicy pineapple for a unique taste sensation.
Start by preheating your oven according to the pizza crust instructions. While it warms up, line your baking sheet with the tater tots, forming a crunchy base for your pizza. Bake the tater tots until they're golden and crispy, then remove them from the oven.
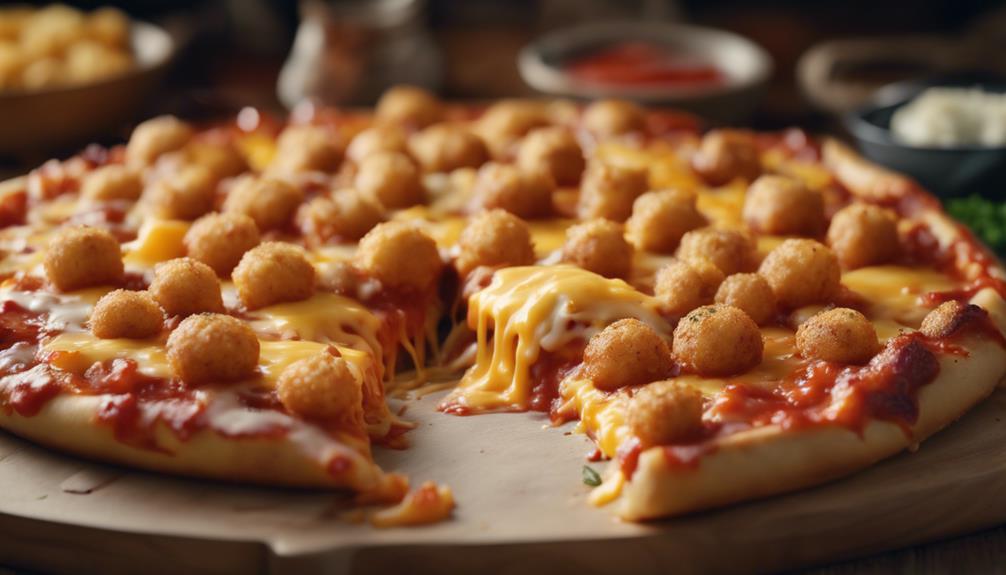
Next, spread a generous layer of marinara sauce over your pizza crust. Sprinkle on a generous amount of shredded mozzarella cheese, ensuring each bite is gooey and delicious. Now, it's time to pile on your creative toppings. Let your imagination run wild!
Once your Tater Tot Pizza is fully loaded, carefully place it back in the oven until the cheese is melted and bubbly. Enjoy your unique twist on a classic dish!
Preparing the Tater Tots
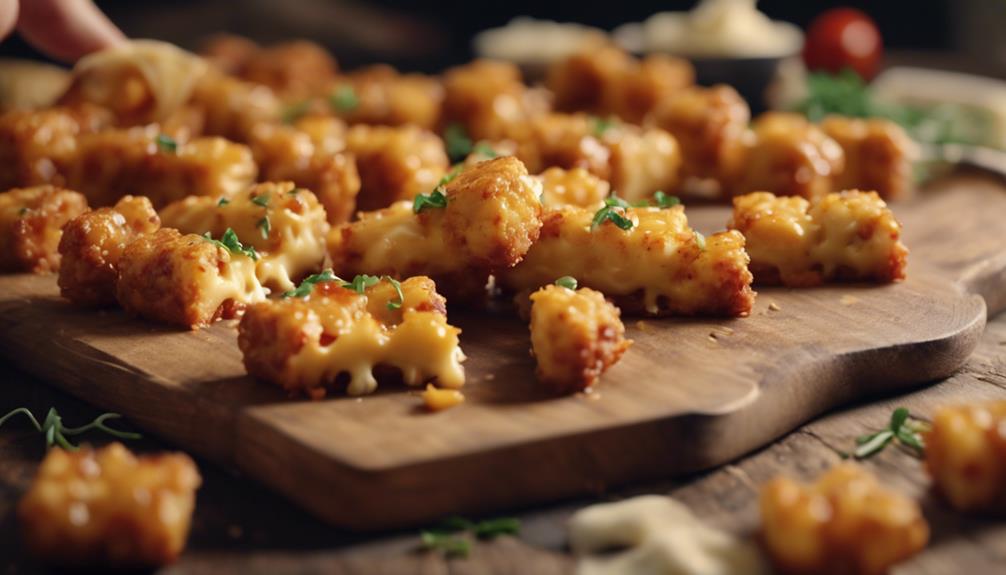
For essential crispiness, thoroughly coat the tater tots in a light layer of cooking oil before baking. This step is vital to achieving that perfect golden exterior while keeping the inside fluffy. Here are some tips to help you prepare the tater tots for your delicious pizza creation:
- Even coating: Make sure to evenly coat each tater tot with a thin layer of oil to make sure they crisp up uniformly.
- Seasoning options: You can elevate the flavor of your tater tots by adding different seasonings before baking. Try options like garlic powder, paprika, or even some grated Parmesan cheese for an extra kick.
- Spacing: Arrange the tater tots on the baking sheet with some space between each piece. This allows for proper airflow, helping them cook evenly and become crispy all around.
Making the Pizza Sauce
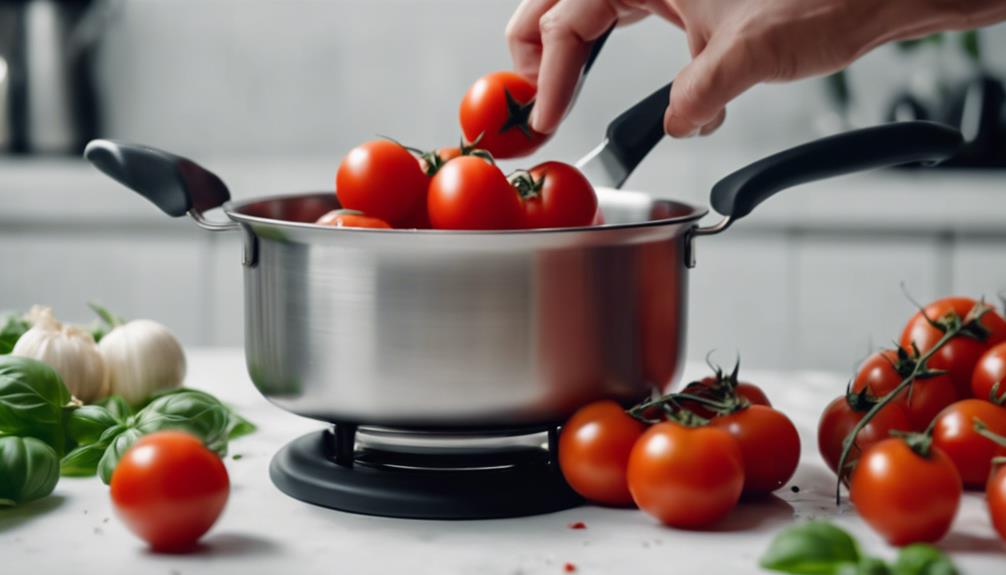
Consider blending together ripe tomatoes, fresh herbs, and aromatic garlic to create a flavorful base for your tater tot pizza. To make the pizza sauce, start by gently sautéing finely chopped garlic in olive oil until it becomes fragrant. Then, add in freshly diced ripe tomatoes and simmer them until they break down and release their juices, creating a rich tomato base for your sauce.
Enhance the tomato goodness with flavorful seasonings like oregano, basil, salt, and pepper. These seasonings will elevate the taste of your homemade sauce, adding depth and complexity to each bite of your tater tot pizza. Allow the sauce to simmer and thicken, absorbing all the delicious flavors of the herbs and garlic, ensuring a burst of homemade goodness with every spoonful.
Assembling the Pizza Base
When assembling the pizza base, layer your chosen sauce evenly on the dough to create a flavorful foundation for your tater tot pizza. This step is important to guarantee that each bite bursts with deliciousness.
To achieve the perfect base for your tater tot pizza, follow these simple steps:
- Spread the sauce using a gentle circular motion, ensuring it reaches the edges for a flavorful experience.
- Be generous but not excessive; a balanced amount of sauce will prevent a soggy crust and allow the flavors to harmonize beautifully.
- Take care in spreading the sauce evenly to avoid any areas being overwhelmed by sauce while others are left bare, ensuring each bite is a delight.
Topping It off With Cheese
To enhance the flavor profile of your tater tot pizza, sprinkle a generous amount of shredded mozzarella cheese over the sauced dough base. When it comes to cheese options, mozzarella is a classic choice for pizza due to its gooey texture and mild flavor that complements the other ingredients. As the pizza bakes, the mozzarella cheese melts beautifully, creating that signature stretchy goodness that everyone loves.
Experimenting with different cheese options can take your tater tot pizza to the next level. Try mixing in some cheddar for a sharper flavor or adding parmesan for a nutty kick. The melting techniques for each cheese vary, so understanding how they behave under heat is crucial to achieve the perfect cheesy finish.
Consider flavor pairings when selecting your cheese. A blend of mozzarella and provolone can add depth, while a sprinkle of feta can bring a tangy twist. Don't forget to do a little taste testing along the way to adjust the cheese ratios to suit your palate. With the right cheese combination, your tater tot pizza will be a cheesy delight that everyone will enjoy.
Baking to Perfection
Now, move on to achieving the perfect bake for your tater tot pizza by mastering the temperature and timing in the oven.
- Preheat your oven to 400°F.
- Place the tater tot pizza in the center rack for even cooking.
- Bake for 20-25 minutes until the crust is crispy and golden brown.
Ensuring your tater tot pizza reaches that ideal level of crispiness and golden brown perfection requires attention to detail. Keep an eye on the oven as the minutes tick by; you'll know it's ready when the aroma of melted cheese and savory toppings fills your kitchen.
The anticipation builds as you wait for that satisfying moment of pulling out a bubbling hot masterpiece. With the right bake, each bite offers a delightful crunch and a burst of flavors. So, be patient, and let the oven work its magic to transform your creation into a mouthwatering delight.
Serving and Enjoying
Savor the satisfying moment when you slice into your tater tot pizza, revealing layers of cheesy goodness and flavorful toppings. When it comes to serving your delicious creation, there are a few suggestions to make the experience even more enjoyable. Consider pairing your tater tot pizza with a fresh green salad tossed in a zesty vinaigrette to balance out the richness of the dish. Another great idea is to serve it alongside a bowl of creamy tomato soup for a comforting and hearty meal.
For a delightful twist, try out these flavor combinations to elevate your tater tot pizza experience:
| Flavor Combinations |
Description |
| BBQ Chicken |
Tangy BBQ sauce with tender chicken pieces. |
| Hawaiian |
Sweet pineapple and savory ham. |
| Veggie Lover's |
Colorful bell peppers, mushrooms, and olives. |
Tips for Variations
When exploring tips for variations in your tater tot pizza recipes, consider experimenting with different cheeses and toppings to customize your culinary creation. Here are some suggestions to elevate your tater tot pizza game:
- Ingredient Substitutions: Swap out traditional pizza sauce for barbecue sauce or pesto for a unique twist. Try using different types of cheese like mozzarella, cheddar, or feta to add depth to the flavor profile.
- Creative Toppings: Get creative with your toppings by adding ingredients like caramelized onions, avocado slices, or even pineapple for a sweet and savory combination. Don't be afraid to mix and match to discover new flavor combinations that suit your taste preferences.
- Cooking Techniques: Experiment with cooking techniques such as baking the tater tots before assembling the pizza to achieve a crispier texture. You can also try broiling the pizza for a few minutes at the end to melt the cheese and give the toppings a nice finish.
Conclusion
To sum up, this tater tot pizza recipe is a delightful twist on a classic favorite.
The crispy tater tots, flavorful sauce, and gooey cheese come together perfectly to create a mouthwatering dish that will impress everyone at the table.
So next time you're craving something unique and delicious, give this recipe a try and enjoy the tasty goodness it brings to your mealtime!

by Pizzeria | Apr 29, 2024 | Pizza Guides
If you've ever dreamt of crafting artisan pizzas in your very own outdoor pizza oven, the 'Outdoor Pizza Oven Recipe Book' is your essential companion. With a treasure trove of classic and innovative pizza recipes at your fingertips, this book promises to enhance your pizza-making skills to new heights. From mastering the perfect dough to discovering unexpected flavor pairings, this resource holds the key to revealing a world of culinary creativity right in your backyard. Get ready to tantalize your taste buds and impress your palate with every turn of the page.
Key Takeaways
- Explore diverse pizza recipes for outdoor cooking adventures.
- Discover unique toppings to elevate your pizza game.
- Perfect your pizza dough with essential tips and techniques.
- Enhance flavors with fresh, seasonal ingredients.
- Get creative with pizza presentations for visual appeal.
Benefits of Using Outdoor Pizza Oven
When cooking with an outdoor pizza oven, you can achieve unparalleled flavor and a crispy crust that's hard to replicate in a traditional oven. The magic of outdoor cooking lies in the ability to infuse your pizzas with a smoky essence that adds depth to every bite. Imagine dining al fresco, surrounded by the tantalizing aroma of bubbling cheese and sizzling toppings. This experience elevates your meal beyond mere sustenance; it becomes a sensory adventure.
Outdoor cooking not only enhances the taste of your pizza but also transforms mealtime into an event. Al fresco dining allows you to connect with nature, bask in the warmth of the sun, and savor every moment spent preparing and enjoying your food. The outdoor pizza oven becomes the centerpiece of your culinary creations, a focal point that brings family and friends together for memorable gatherings. So, next time you fire up your outdoor pizza oven, relish in the unique flavors and ambiance it brings to your table.
Must-Try Classic Pizza Recipes
Elevate your outdoor pizza oven experience with these must-try classic pizza recipes that will tantalize your taste buds and impress your guests.
When it comes to pizza pairing, you can never go wrong with a classic Margherita pizza. The combination of fresh tomatoes, mozzarella cheese, basil, and a drizzle of olive oil on a crispy crust is a timeless favorite that pleases everyone's palate.
For a more adventurous choice in pizza presentation, try the beloved Pepperoni pizza. The spicy kick of pepperoni combined with gooey melted cheese on a golden-brown crust is a crowd-pleaser at any gathering. It's a classic that never fails to satisfy.
Don't forget the iconic Hawaiian pizza for a sweet and savory twist. The pineapple chunks, ham, and melted cheese create a delightful flavor combination that surprises and delights. Remember, the key to a successful pizza party lies not only in the flavors but also in the art of pizza presentation. Enjoy these classics and watch your guests' faces light up with every delicious bite.
Unique Pizza Toppings to Explore
Discover exciting and unconventional pizza toppings to elevate your outdoor pizza oven creations beyond the ordinary. When it comes to creating unique pizzas, the key is to think outside the traditional toppings box. Here are some ideas to inspire your culinary adventures:
- Exotic flavor combinations: Experiment with ingredients like mango, prosciutto, and jalapeños to create a sweet, salty, and spicy flavor explosion on your pizza.
- Creative crusts: Swap out the regular pizza dough for a cauliflower crust, a gluten-free alternative that adds a healthy twist to your pizza night.
- Global pizza influences: Draw inspiration from different cuisines around the world. Try topping your pizza with tandoori chicken for a taste of India or kimchi for a Korean twist.
- Unconventional toppings: Get creative with your toppings by adding figs, brie cheese, arugula, and a drizzle of balsamic glaze for a pizza that's both sophisticated and delicious.
Tips for Perfect Pizza Dough
For the best results in making perfect pizza dough, consider using high-quality ingredients and precise measurements. Dough hydration plays an important role in the texture of your pizza crust. Aim for a hydration level around 60-65% for a balance between a chewy and crispy crust. Kneading the dough thoroughly helps develop gluten, giving your pizza dough structure and elasticity.
When it comes to yeast activation, make sure your water is at the right temperature (around 110°F) to activate the yeast effectively. Letting the dough rise is essential for developing flavor and creating a light and airy crust. Allow the dough to rise in a warm, draft-free area until it has doubled in size.
| Tips for Perfect Pizza Dough |
| Dough Hydration |
Aim for 60-65% hydration for ideal crust texture. |
| Kneading |
Thoroughly knead the dough to develop gluten. |
| Yeast Activation |
Use water at 110°F to activate yeast efficiently. |
| Rising |
Allow the dough to double in size during the rising process. |
Enhancing Flavors With Fresh Ingredients
Enhance the taste of your pizza by incorporating fresh, aromatic ingredients like basil and ripe tomatoes. These flavorful pairings can take your pizza to the next level.
When it comes to enhancing flavors with fresh ingredients, consider these tips:
- Mix and Match: Experiment with different combinations of fresh herbs and vegetables to create unique and delicious flavor profiles.
- Seasonal Sensations: Take advantage of ingredient inspiration from seasonal produce for the freshest and most flavorful toppings.
- Bold and Bright: Add a pop of color and flavor to your pizza by using vibrant ingredients like bell peppers and red onions.
- Herbaceous Delights: Elevate the taste of your pizza by sprinkling fresh herbs like oregano, thyme, or parsley over the top before serving.
Family-Friendly Pizza Recipes
Get ready to whip up some delicious and easy-to-make pizza recipes that the whole family will love. Pizza making is a fun activity that can bring everyone together during family gatherings. From classic Margherita to creative BBQ chicken, there's a pizza for every palate.
Start by preparing the dough, either store-bought or homemade, and gather an array of toppings like cheese, pepperoni, vegetables, and herbs. Allow everyone to customize their pizza with their favorite ingredients, making it a personalized and interactive experience for all.
Once assembled, pop the pizzas into the outdoor oven and watch as the crust crisps up and the cheese melts into gooey perfection. The aroma will tantalize your taste buds, building anticipation for the flavorful slices that are about to be served.
As the pizzas bake, enjoy the company of your loved ones, sharing stories and laughter while eagerly awaiting the piping hot creations. Family-friendly pizza recipes aren't just about food; they're about creating memories that will last a lifetime.
Dessert Pizzas for Sweet Tooths
Explore a sweeter side of pizza-making by indulging in delectable dessert pizzas that will satisfy even the most voracious sweet tooth. When it comes to dessert pizzas, the possibilities are endless. Here are some tempting ideas to elevate your dessert game:
- Fruit toppings: Fresh fruits like strawberries, blueberries, or bananas can add a burst of natural sweetness to your dessert pizza.
- Chocolate drizzle: A decadent chocolate drizzle can take your dessert pizza to the next level, creating a perfect harmony of flavors.
- Caramel swirl: Drizzling caramel over your dessert pizza can add a rich and gooey texture that complements the crispy crust.
- Dollop of whipped cream: A dollop of airy whipped cream on top of your dessert pizza can add a light and fluffy finish that enhances the overall experience.
Experiment with different combinations of these toppings to create your own signature dessert pizza that will leave everyone craving for more.
Mastering the Art of Pizza Baking
To become a skilled pizza baker, focus on mastering the techniques of dough preparation and oven temperature control. Proper dough preparation is vital for a delicious pizza. Start by kneading the dough until it's smooth and elastic, then allow it to rise in a warm place until doubled in size. Troubleshooting common dough issues like stickiness or dryness will guarantee a perfect base for your pizza.
Controlling the oven temperature is essential. Preheat your oven adequately to achieve that crispy crust and gooey cheese. Experiment with different temperatures to find the perfect balance for your ideal pizza. Additionally, consider investing in a pizza stone for even heat distribution.
When it comes to pizza presentation, remember that we eat with our eyes first. Get creative with toppings, colors, and textures to make your pizza visually appealing. Finally, don't forget to let your pizza rest for a few minutes before slicing to prevent the toppings from sliding off. Mastering these fundamental aspects will elevate your pizza baking skills to new heights.
Seasonal Pizza Creations
For a delightful twist on your mastered pizza baking skills, let's now venture into crafting unique and flavorful seasonal pizza creations. Embrace the changing seasons by experimenting with different ingredients to elevate your pizza game.
Here are some ideas to inspire your next seasonal pizza masterpiece:
- Seasonal pizza pairings: Explore the delicious harmony of seasonal ingredients like butternut squash, cranberries, figs, or pumpkin with your favorite cheeses and herbs.
- Creative pizza presentations: Get artistic with your pizza by arranging toppings in fun patterns or shapes, such as a sunburst design with cherry tomatoes or a colorful rainbow of bell peppers.
- Savor the flavors: Experiment with sweet and savory flavor combinations like apple and brie, barbecue chicken with pineapple, or a Mediterranean-inspired pizza with olives and feta cheese.
- Herb-infused crusts: Elevate your pizza by infusing your crust with seasonal herbs like rosemary, thyme, or basil for an extra burst of flavor in every bite.
These seasonal pizza creations won't only tantalize your taste buds but also impress your family and friends with your culinary creativity.
Hosting a Pizza Party Outdoors
Get ready to elevate your outdoor entertaining game by hosting a pizza party in your backyard! To guarantee a successful event, consider incorporating fun pizza party games to keep your guests entertained while waiting for their delicious slices. Classics like pizza-themed trivia or a dough tossing competition can add excitement and laughter to the gathering. Additionally, don't forget to maintain your outdoor pizza oven before the party to make sure it's in top shape for cooking. Clean the oven, check for any debris, and ensure all parts are functioning correctly to avoid any hiccups during your event.
For a memorable outdoor pizza party, create a festive atmosphere with decorations, music, and of course, plenty of tasty pizza varieties. Encourage guests to customize their pizzas with an array of toppings and sauces for a personalized culinary experience. By combining delicious food, entertaining games, and proper outdoor pizza oven maintenance, you're sure to host a pizza party that will be talked about long after the last slice is gone.
Conclusion
To sum up, the 'Outdoor Pizza Oven Recipe Book' is like a treasure map leading to a world of culinary delight.
With its array of classic and unique pizza recipes, helpful tips, and seasonal creations, it's a guide to pizza perfection.
So why settle for ordinary when you can create extraordinary pizzas that will leave your taste buds dancing?
Get your hands on this recipe book and let your outdoor pizza oven adventures begin!

by Pizzeria | Apr 28, 2024 | Pizza Guides
Imagine the tantalizing aroma of freshly baked pizza emerging from your oven, but this time with a unique twist – a drizzle of creamy ranch sauce. As you take a bite, the cool tanginess of the sauce perfectly complements the savory flavors of the pizza toppings, creating a harmonious blend of tastes. But what exactly goes into making this delectable ranch sauce that has the power to transform your pizza experience? Let's uncover the secrets behind crafting the perfect ranch sauce that will leave you craving for more.
Key Takeaways
- Homemade or store-bought options available.
- Vegan and dairy-free alternatives included.
- Step-by-step instructions for making Ranch Sauce.
- Importance of choosing herbs and spices for flavor.
- Customizable for different taste preferences.
Ingredients Needed for Ranch Sauce
When making Ranch Sauce for pizza, you'll need to gather a few key ingredients. For flavor variations, you can choose between homemade or store-bought options. If you prefer a more personalized taste, making your own ranch sauce allows you to adjust the seasonings to suit your palate. On the other hand, store-bought options offer convenience for quick preparation.
For vegan alternatives and dairy-free options, you can opt for plant-based ingredients like dairy-free milk, vegan mayonnaise, and dairy-free yogurt. These substitutes guarantee that individuals with dietary restrictions can still enjoy the creamy goodness of Ranch Sauce on their pizza without compromising on taste.
Whether you decide to go for a traditional homemade recipe with fresh ingredients or choose a ready-made dairy-free version, the key is to pick ingredients that align with your preferences and dietary needs. Experiment with different options to find the perfect Ranch Sauce that complements your pizza toppings effortlessly.
Step-By-Step Instructions for Preparation
To proceed with preparing the Ranch Sauce for your pizza, let's now go over the step-by-step instructions for its creation. Making this flavorful sauce is easier than you might think. Below is a simple guide to help you whip up your very own Ranch Sauce at home.
| Step |
Instructions |
| 1 |
Gather all ingredients: mayo, sour cream, garlic powder, onion powder, dried dill, parsley, chives, salt, and pepper. |
| 2 |
In a bowl, mix 1/2 cup of mayo and 1/4 cup of sour cream until smooth. |
| 3 |
Add 1/2 tsp garlic powder, 1/2 tsp onion powder, 1/2 tsp dried dill, 1/2 tsp parsley, 1/4 tsp chives, and salt and pepper to taste. |
| 4 |
Stir well until all the ingredients are fully combined. |
| 5 |
Taste and adjust seasonings as needed. Your Ranch Sauce is now ready to be used on your pizza. |
For flavor variations, consider adding a dash of hot sauce for a spicy kick or some lemon juice for a tangy twist. If you need ingredient substitutions, Greek yogurt can be used instead of sour cream for a lighter alternative.
Choosing the Right Herbs and Spices
For ideal flavor in your Ranch Sauce, carefully select the herbs and spices that best complement each other to create a delicious and well-balanced taste profile. Herb combinations play an important role in enhancing the overall taste of your sauce. Consider mixing parsley, dill, chives, and garlic powder for a classic ranch flavor. Spice variations can also add depth to your sauce. Try experimenting with paprika, onion powder, black pepper, or even a hint of cayenne for a kick.
When choosing your herbs and spices, it's vital to take into account your taste preferences. If you enjoy a more robust flavor, you may want to increase the amount of garlic powder or add a touch of thyme. For those who prefer a milder taste, reducing the amount of spices or opting for a lighter herb like parsley might be the way to go.
Don't be afraid to get creative with your flavor experimentation. Adjusting the herbs and spices to suit your palate is all part of the fun of making your own Ranch Sauce for pizza.
Tips for Achieving the Perfect Consistency
To achieve the perfect consistency for your Ranch Sauce, adjust the amount of buttermilk gradually while stirring continuously until you reach the desired thickness. For a thicker sauce, add less buttermilk, and for a thinner consistency, incorporate more. Here are some tips to help you achieve the ideal texture:
| Mixing Techniques |
Thickness Adjustment |
| Stir constantly and slowly add buttermilk |
Gradually adjust buttermilk quantity for desired thickness |
| Use a whisk for smooth blending |
Test the consistency by coating the back of a spoon |
| Avoid overmixing, as it can make the sauce too thin |
If the sauce becomes too thick, add a little more buttermilk |
When aiming for the perfect consistency, also consider the flavor balance. If the sauce is too thick and rich, you can balance it by adding a touch of lemon juice or vinegar. For those with dietary restrictions, ingredient substitutions like Greek yogurt or sour cream can alter the texture while maintaining a delicious flavor profile. Mastering the consistency of your Ranch Sauce will elevate your pizza experience to a whole new level.
Customizing Your Ranch Sauce Flavor
Enhance the flavor of your Ranch Sauce by infusing it with herbs and spices that complement your pizza toppings. Experiment with different flavor variations to create a customized sauce that elevates your pizza experience. Try adding garlic powder, onion powder, or a hint of paprika for a rejuvenating twist. For a more invigorating taste, consider incorporating chopped fresh dill, parsley, or chives into your Ranch Sauce.
Get creative with your Ranch Sauce by exploring unique uses beyond just pizza. Use it as a dip for veggies, a dressing for salads, or a spread for sandwiches. Taste testing is key to finding the perfect balance of flavors. Adjust the seasonings according to your preferences and don't be afraid to try ingredient substitutions to suit your taste buds.
Storing and Preserving Leftover Sauce
To guarantee your Ranch Sauce remains fresh and flavorful for future use, proper storage and preservation methods are key. When storing leftover Ranch Sauce, consider freezing options for extended longevity. Place the sauce in airtight containers or sealable bags, leaving some room for expansion, and label them with the date to track freshness. Freezing allows you to enjoy the sauce at a later time without it losing its delicious taste.
Moreover, don't hesitate to experiment with flavor variations before storing. You can customize your Ranch Sauce by adding different herbs, spices, or even a hint of citrus for versatile uses in various dishes. These flavor tweaks can enhance the sauce and cater to different preferences, making it a staple condiment in your kitchen.
Serving Suggestions and Pairing Ideas
For a delightful dining experience, consider exploring various serving suggestions and pairing ideas to elevate the flavors of your Ranch Sauce. Here are some tips to enhance your meal:
- Wine Pairings: Pair your Ranch Sauce pizza with a chilled Pinot Grigio for an invigorating contrast to the creamy dressing. If you prefer red wine, a light-bodied Merlot can complement the richness of the sauce. Presentation-wise, serve the wine in elegant stemware to elevate the dining experience further.
- Side Dish Suggestions: Consider serving a crisp garden salad with a lemon vinaigrette dressing alongside your Ranch Sauce pizza to balance out the flavors. For a heartier option, roasted garlic mashed potatoes can add a comforting element to your meal. Experiment with different side dishes to find your perfect combination.
- Flavor Combinations: If you're feeling adventurous, try adding grilled chicken or crispy bacon as toppings on your pizza to enhance the savory notes of the Ranch Sauce. For a vegetarian option, roasted red peppers and caramelized onions can bring a sweet contrast to the tangy dressing. Experiment with diverse flavor combinations to create a unique dining experience.
Enhancing Your Pizza With Ranch Sauce
Consider incorporating a drizzle of Ranch Sauce on your pizza to add a creamy and tangy flavor profile that will elevate your dining experience. Ranch sauce variations can include spicy ranch, garlic ranch, or even avocado ranch, each offering a unique twist to your pizza. Get creative with your use of Ranch Sauce by using it not just as a drizzle on top of your pizza but also as a dipping sauce for your crust or even as a base instead of traditional marinara sauce.
When it comes to health benefits, consider opting for ranch sauce alternatives like Greek yogurt-based ranch or a lighter version made with buttermilk and fresh herbs. These alternatives can provide a similar creamy texture and tangy taste but with fewer calories and less fat, making your pizza indulgence a bit healthier.
Conclusion
To wrap things up, ranch sauce adds a delightful twist to pizza night, elevating the flavors and overall dining experience.
Did you know that ranch dressing is the most popular salad dressing in the United States, with over 40% of Americans choosing it as their favorite?
So next time you're savoring a slice of pizza, consider adding some homemade ranch sauce to elevate it to the next level!
by Pizzeria | Apr 27, 2024 | Pizza Guides
When it comes to pizza dough, you may have tried various recipes, but Nancy Silverton's version offers a distinct approach that sets it apart. The meticulous attention to detail in ingredient selection and the methodical process of fermentation result in a dough that promises a unique culinary experience. Before you know it, you'll be on a journey to uncover the secrets behind achieving that perfect balance of texture and flavor that will elevate your homemade pizza to a whole new level.
Key Takeaways
- Optimal hydration levels for desired dough texture.
- Experiment with various flour types for custom flavor.
- Ensure yeast activation before combining ingredients.
- Prolonged fermentation enhances dough flavor.
- Gentle shaping techniques for perfect pizza crust.
Ingredients for Nancy Silverton Pizza Dough
When making Nancy Silverton's pizza dough, you'll want to gather high-quality ingredients to guarantee a delicious and authentic taste. The first step is to ponder the hydration levels of your dough. Adjusting the amount of water used can greatly impact the texture and chewiness of the final crust. Experiment with different flour types to find the perfect balance between a crispy exterior and a soft interior.
Ensure your yeast is properly activated before incorporating it into the dough. This step is vital for achieving that airy and light texture in your pizza crust. Once the dough is mixed, allow it to ferment slowly. This process develops the flavors and creates a complex taste profile in the finished product. The longer the fermentation period, the more depth of flavor your pizza dough will have.
Mixing the Dough
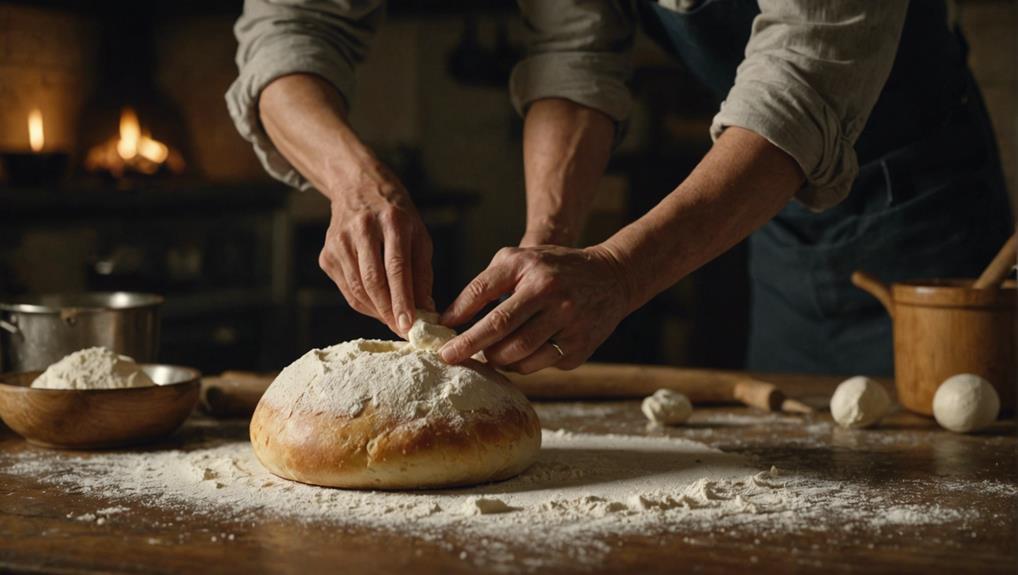
To mix the Nancy Silverton pizza dough, begin by combining the flour, yeast, salt, and water in a large bowl. The essential mixing method is crucial for achieving the perfect dough consistency. Using a wooden spoon or your hands, gently stir the ingredients together until a shaggy dough forms. It's important not to overmix at this stage; a few lumps are okay.
The dough consistency should be slightly sticky but not too wet. If it feels too dry, add a little more water, a tablespoon at a time. On the other hand, if it's too wet, sprinkle in a bit more flour until you reach the desired texture. The key is finding the balance that will result in a smooth and elastic dough that holds together well.
Kneading Technique
Engage your hands to work the dough, applying steady pressure to develop gluten strands and achieve the desired elasticity for Nancy Silverton's pizza dough recipe. Proper kneading is essential for creating a dough that's just right – not too sticky nor too dry.
Here are some essential tips for mastering the kneading technique:
- Consistency Check: Pay attention to the texture of the dough as you knead. It should gradually transform from a shaggy mass to a smooth and slightly tacky ball.
- Time Matters: Kneading isn't a rush job. Take your time to allow the gluten to develop fully. This process usually takes around 8-10 minutes of continuous kneading.
- Feel the Dough: Don't rely solely on the recipe's suggested kneading time. Instead, trust your hands and the dough's consistency. Adjust the kneading duration based on how the dough feels under your touch.
Dough Resting Period
For best results, allow the pizza dough to rest after kneading to relax the gluten strands and enhance the dough's texture. This resting period is of utmost importance in the pizza-making process. After kneading, cover the dough and let it rest at room temperature for a specific fermentation period. This resting time allows the dough to relax, making it easier to shape and stretch later on.
During the fermentation period, the yeast in the dough becomes active, leading to the development of flavors and textures. This process adds depth and complexity to your pizza crust, creating a more delicious final product. The dough will also rise slightly during this time, giving it a light and airy quality once baked.
Shaping and Stretching
When shaping and stretching the pizza dough, focus on maintaining an even thickness throughout to guarantee a balanced crust. To achieve the perfect pizza base, consider the following shaping techniques and stretching tips:
- Gentle Pressure: Apply gentle and consistent pressure when shaping the dough to prevent tearing and ensure an even distribution of thickness.
- Hand Stretching: Use your hands to stretch the dough gradually from the center outwards, rotating it as you go to maintain an even round shape.
- Avoid Overworking: Be careful not to overwork the dough during shaping and stretching as this can lead to a tough crust. Handle it delicately to maintain its light and airy texture.
Baking Instructions
Maintain the even thickness you achieved while shaping and stretching as you move on to the baking instructions for the perfect Nancy Silverton pizza crust. Preheat your oven to 500°F (260°C) with a pizza stone inside, allowing it to heat for at least 30 minutes. The intense heat from the stone helps create that crispy, delicious crust we all love.
When your oven and pizza stone are properly preheated, it's time to slide your pizza onto the stone. Be cautious as it's hot! Bake the pizza for about 8-10 minutes, but keep a close eye on it. You want the crust to be a beautiful golden brown color.
To make sure your pizza turns out just right, here are some baking tips: make sure the oven temperature is high enough for that perfect bake, and pay attention to the dough texture when shaping it – not too thin or thick. Also, make sure your yeast is properly activated for that lovely rise in the crust. Now, get ready to enjoy your homemade Nancy Silverton pizza straight from the oven!
Final Pizza Assembly and Enjoyment
Once the pizza is baked to perfection, garnish it with your favorite toppings and savor every delicious bite. Whether you prefer classic pepperoni, fresh veggies, or gourmet cheeses, the choice is yours to make each slice uniquely yours. Let your creativity shine as you adorn the golden crust with a colorful array of pizza toppings.
- Freshness Guaranteed: Using high-quality ingredients guarantees a burst of flavors in every mouthful.
- Balance is Key: Experiment with a variety of toppings to achieve the perfect harmony of tastes and textures.
- Wine Pairing: Enhance your pizza experience by pairing it with a glass of your favorite wine. A light Pinot Noir complements a mushroom and truffle pizza, while a crisp Sauvignon Blanc can elevate a classic Margherita.
As you gather around the table with friends and family, raise a toast to good food and great company. The culmination of your efforts isn't just a meal but a shared moment of joy and connection.
Conclusion
To sum up, Nancy Silverton's pizza dough recipe is a perfect blend of simplicity and sophistication. With just a few key ingredients and careful techniques, you can create a delicious pizza crust that's crispy on the outside and chewy on the inside.
So gather your favorite toppings, fire up the oven, and get ready to enjoy a homemade pizza that will impress your taste buds and loved ones alike. Happy baking!

by Pizzeria | Apr 26, 2024 | Pizza Guides
If you've ever craved the creamy indulgence of macaroni and cheese, the California Pizza Kitchen recipe might just be what you're looking for. Its blend of sharp cheddar and Monterey Jack cheeses, coupled with the perfect elbow macaroni texture, creates a dish that's both comforting and full of flavor. The cheese sauce, seasoned just right, blankets the pasta in a luxurious coat of goodness. But what really sets this recipe apart are the customization options that can elevate this classic dish to new heights. Whether you're a purist or an adventurous flavor-seeker, there's something for everyone in this beloved mac and cheese recipe.
Key Takeaways
- Use a blend of sharp cheddar and Monterey Jack cheeses for a rich flavor.
- Experiment with smoked paprika or truffle oil for a unique taste twist.
- Top with breadcrumbs before baking for a crispy texture.
- Garnish with fresh chives for a colorful finish.
- Serve in individual ramekins for a stylish presentation.
Ingredients Needed
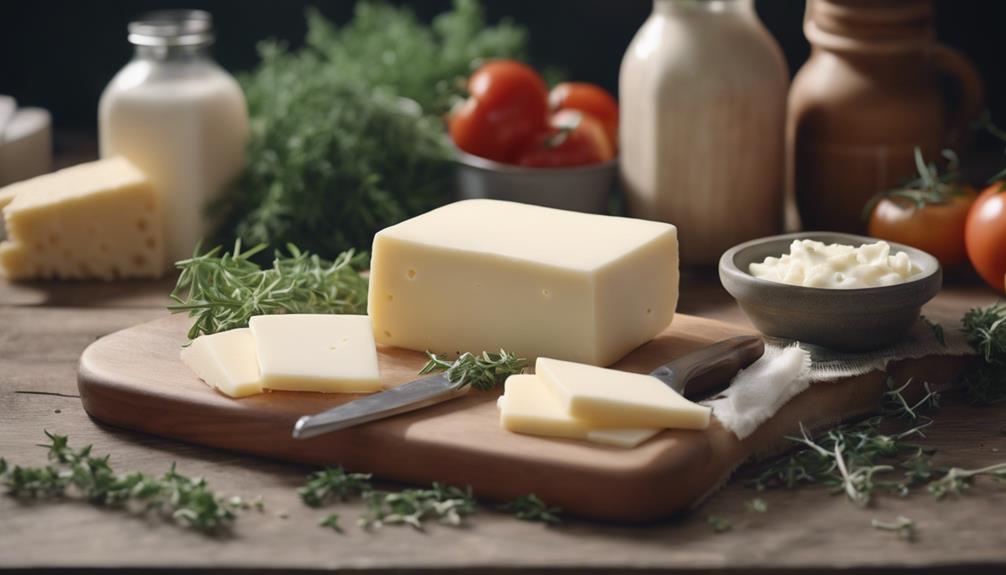
To make California Pizza Kitchen Macaroni and Cheese, you'll need a few simple ingredients. For the cheese selection, opt for a mix of sharp cheddar and creamy Monterey Jack to achieve the perfect balance of flavors. When it comes to cooking techniques, consider using a combination of shredded cheese for gooeyness and cheese slices for a creamy texture.
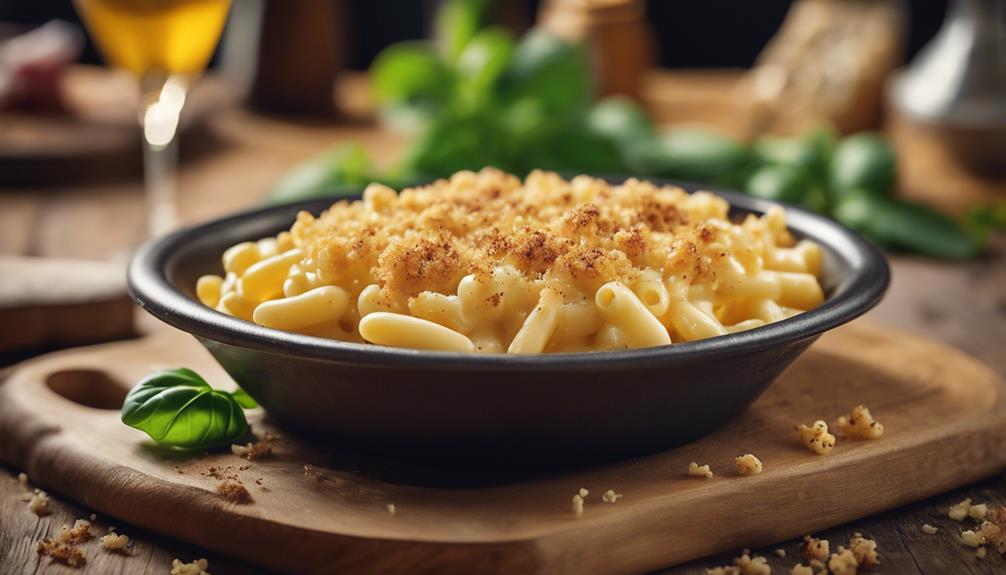
To enhance the flavor of your macaroni and cheese, experiment with adding a dash of smoked paprika or a hint of truffle oil for a gourmet touch. For presentation ideas, try sprinkling breadcrumbs on top before baking to create a crispy golden crust, or garnish with fresh chives for a pop of color.
Cooking Equipment Required
For preparing the California Pizza Kitchen Macaroni and Cheese recipe, you'll need specific cooking equipment to guarantee a successful outcome. To start, you'll require a large pot for boiling the pasta, a colander to drain it, and a saucepan for preparing the cheese sauce. Additionally, you'll need a whisk for stirring the sauce and ensuring a smooth texture.
When it comes to oven temperature, preheat your oven to 375°F (190°C) for that perfect golden-brown crust on your macaroni and cheese. This temperature guarantees the cheese melts just right and the flavors come together beautifully during baking.
Regarding cooking time, after assembling your macaroni and cheese in a baking dish, you'll bake it in the preheated oven for approximately 25-30 minutes. This duration allows the dish to cook through, creating a deliciously creamy and cheesy mac and cheese that will have everyone coming back for seconds. So, gather your equipment, set your oven, and get ready to create a mouthwatering California Pizza Kitchen Macaroni and Cheese dish!
Preparing the Pasta
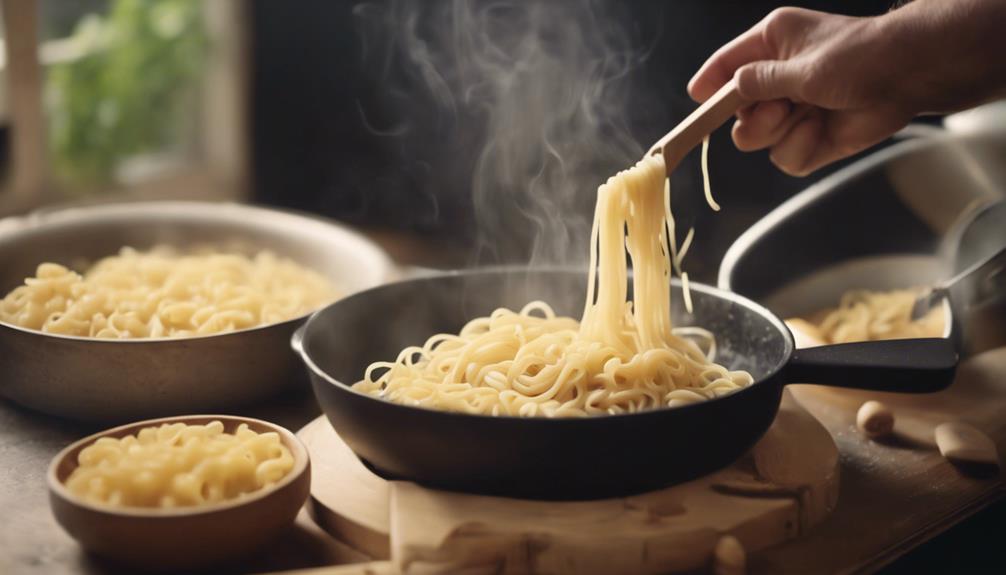
Gather your large pot and fill it with water for boiling the pasta. When the water reaches a rolling boil, add a generous amount of salt to enhance the pasta's flavor. Remember, the pasta shape you choose can impact the dish's overall texture and how well it holds the sauce. For this macaroni and cheese recipe, classic elbow macaroni is ideal, but feel free to experiment with other shapes like shells or fusilli.
Cooking techniques play a significant role in achieving perfectly cooked pasta. Follow the package instructions for the recommended cooking time, but remember to taste a piece a minute or two before the suggested time to make sure it's cooked al dente – tender yet still slightly firm to the bite. Once the pasta reaches this stage, promptly drain it in a colander to stop the cooking process and prevent it from becoming mushy.
Making the Cheese Sauce
For a rich and creamy cheese sauce in your California Pizza Kitchen Macaroni and Cheese, start by melting butter in a saucepan over low heat. Once the butter is melted, it's time to choose your cheese. Opt for a blend of cheeses like sharp cheddar, mozzarella, and Gruyere for a flavorful mix. The cheese selection will impact the final taste, so pick ones that melt smoothly for a velvety texture.
To guarantee a perfect consistency, you might need to adjust the texture of your sauce. If it's too thick, add a splash of milk or cream. On the other hand, if it's too runny, sprinkle in a bit more cheese gradually until you reach the desired thickness. Texture adjustment is essential for the overall mouthfeel of your macaroni and cheese.
Enhance the flavor of your cheese sauce by experimenting with seasoning choices. A pinch of nutmeg or a dash of paprika can add depth to the sauce. Taste as you season to achieve the perfect balance of flavors. By carefully selecting your cheeses, adjusting the texture, and enhancing the taste with seasoning, you'll create a delectable cheese sauce for your macaroni and cheese.
Combining Pasta and Sauce
Now, blend the cooked pasta with the prepared cheese sauce to achieve a vital combination of flavors and textures. When selecting your cheese options, consider using a mix of cheddar and mozzarella for a gooey and rich flavor profile. You can also experiment with Parmesan or Gruyere for a sharper taste. Remember, different cheese combinations can elevate the dish in unique ways.
Pasta shapes play an important role in macaroni and cheese. Opt for classic elbow macaroni for a traditional feel, or try shells or cavatappi for a fun twist. The nooks and crannies of different pasta shapes hold the cheese sauce differently, impacting the overall experience.
Ensure your sauce consistency is creamy but not too thick. The cheese sauce should coat the pasta evenly without being overly gloopy. This step is essential for a velvety mac and cheese.
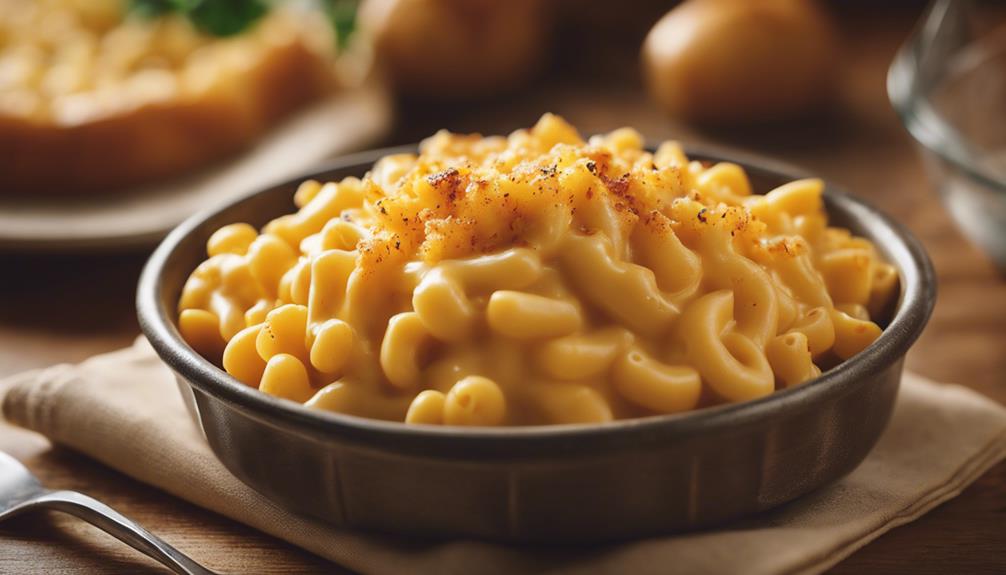
Once combined, bake the macaroni and cheese for the perfect finishing touch. The baking time will vary depending on your recipe, but aim for a golden-brown crust on top for a delightful crunch. Enjoy the comforting and cheesy goodness straight from your oven!
Baking the Macaroni and Cheese
For ideal flavor infusion and a golden-brown finish, baking the macaroni and cheese is a key step in achieving that perfect texture and taste. Once you've combined the pasta and sauce, it's time to elevate your dish to the next level through baking techniques and flavor enhancements. Preheat your oven to 350°F (175°C) and follow these steps to create a mouthwatering mac and cheese:
| Baking Techniques |
Flavor Enhancements |
Presentation Ideas |
Portion Sizes |
| – Sprinkle breadcrumbs on top for a crispy finish |
– Add a pinch of paprika for a subtle kick |
– Serve in individual ramekins for an elegant touch |
– Consider smaller portions for appetizers or larger ones for main courses |
| – Cover with foil to prevent excessive browning |
– Mix in some chopped herbs like parsley or chives |
– Garnish with fresh basil leaves or cherry tomatoes |
– Adjust portion sizes based on the number of guests |
| – Bake until bubbly and golden on top |
– Experiment with different cheeses for a unique flavor profile |
– Use a piping bag to create swirls for a decorative look |
– Offer a variety of portion sizes for catering to different appetites |
With these tips, your baked macaroni and cheese will not only taste amazing but also look impressive on the table.
Garnishing and Serving Tips
Enhance the visual appeal of your macaroni and cheese by garnishing it with fresh herbs or colorful vegetables. Adding a touch of green or vibrant hues can make your dish look even more enticing.
Here are some tips to help you elevate the presentation of your California Pizza Kitchen Macaroni and Cheese:
- Sprinkle fresh parsley or chives on top for a pop of color and a hint of vitality.
- Add a sprinkle of paprika for a touch of warmth and a beautiful contrast in color.
- Garnish with cherry tomatoes cut in halves to bring a burst of red and a juicy bite to your dish.
- Serve your macaroni and cheese in individual ramekins for a stylish and personalized touch.
For a complete dining experience, consider pairing your macaroni and cheese with a light-bodied white wine like Chardonnay or a crisp Sauvignon Blanc. These wines complement the creaminess of the dish while offering an invigorating contrast.
Experiment with different presentation ideas and plating techniques to make your meal not only delicious but also visually appealing.
Storage and Reheating Instructions
When storing California Pizza Kitchen Macaroni and Cheese, make sure it's tightly covered to maintain freshness and prevent drying out. For freezing tips, transfer the macaroni and cheese to an airtight container or freezer-safe bag, ensuring there's some room for expansion. Portion sizes can vary, but consider dividing the leftovers into individual servings before freezing for easier reheating later. If you have leftover macaroni and cheese, try mixing in some cooked vegetables or proteins like chicken or ham for a new twist.
When it's time to reheat, you can use the microwave for a quick fix. Place a damp paper towel over the container to help retain moisture while reheating in short intervals, stirring in between. Alternatively, for a crispy top, bake it in the oven at 350°F covered with foil to prevent excessive browning. Remember to keep an eye on it to avoid overcooking. With these storage and reheating tips, you can enjoy your California Pizza Kitchen Macaroni and Cheese just as deliciously as when it was first served.
Recipe Variations and Customization
To add a personalized touch to your California Pizza Kitchen Macaroni and Cheese, consider experimenting with various ingredients and flavors to create unique recipe adaptations. Here are some ideas to help you customize your mac and cheese:
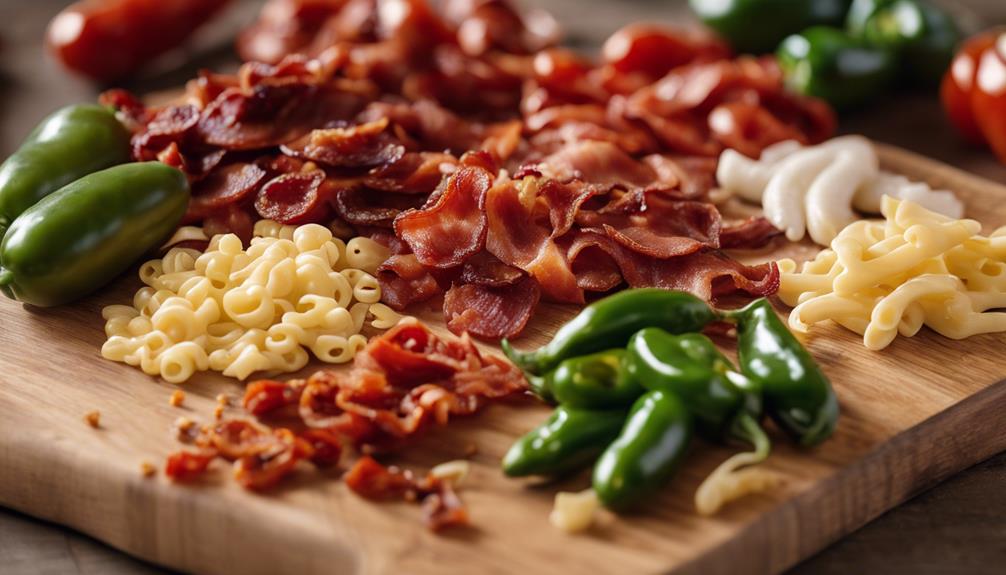
- Flavor enhancements: Try adding crispy bacon bits or diced jalapeños for a spicy kick.
- Presentation ideas: Serve your macaroni and cheese in individual ramekins topped with breadcrumbs for a fancy touch.
- Dietary modifications: For a healthier option, use whole wheat pasta or substitute regular cheese with a plant-based alternative.
- Ingredient substitutions: Swap out the classic macaroni for spiral pasta or mix in different types of cheeses like Gruyère or mozzarella for a twist on the traditional recipe.
Conclusion
To sum up, the California Pizza Kitchen Macaroni and Cheese recipe is a delicious and comforting dish that will surely satisfy your cravings for a cheesy and indulgent meal.
With its creamy cheese sauce, perfectly cooked pasta, and crispy breadcrumb topping, this mac and cheese is a true crowd-pleaser.
So next time you're in the mood for some classic comfort food, give this recipe a try and indulge in its rich and flavorful goodness.