
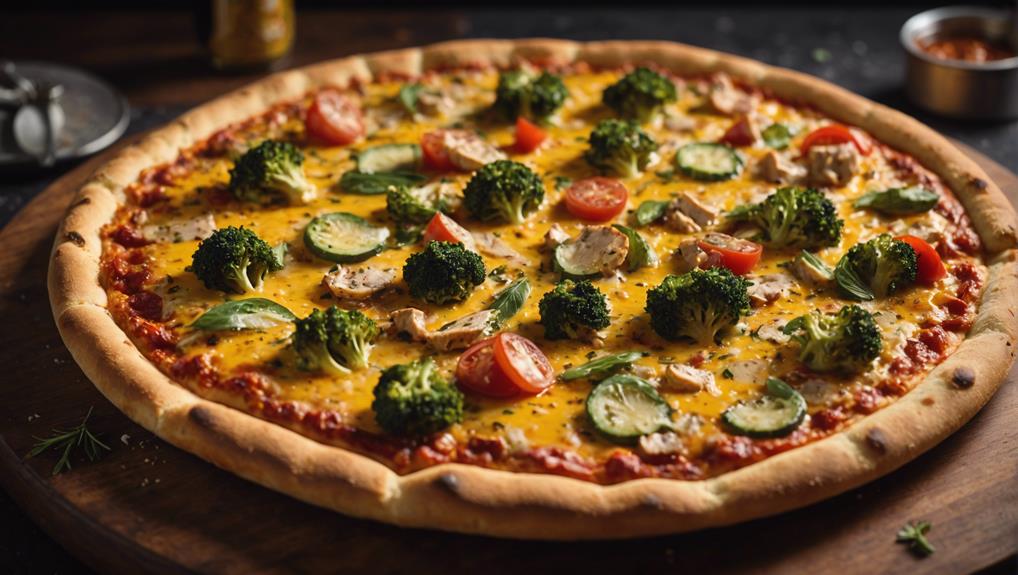
Ever thought about adding canned chicken to your homemade pizza? It might surprise you how a simple pantry staple can transform your pizza into a flavorful masterpiece. The combination of tender chicken, gooey cheese, and colorful veggies creates a harmony of flavors that will have your taste buds dancing. But the secret lies in the seasoning and preparation of the canned chicken, elevating it from ordinary to extraordinary. Stay tuned to uncover the key steps to creating a mouthwatering canned chicken pizza that will have everyone asking for your recipe.
Key Takeaways
- Season canned chicken with desired herbs and spices for flavor.
- Substitute pizza sauce with pesto for a unique taste twist.
- Experiment with creative toppings like feta cheese or sun-dried tomatoes.
- Bake pizza at 425°F for 12-15 minutes until golden brown.
- Pair canned chicken pizza with a side salad for a balanced meal.
Ingredients Needed
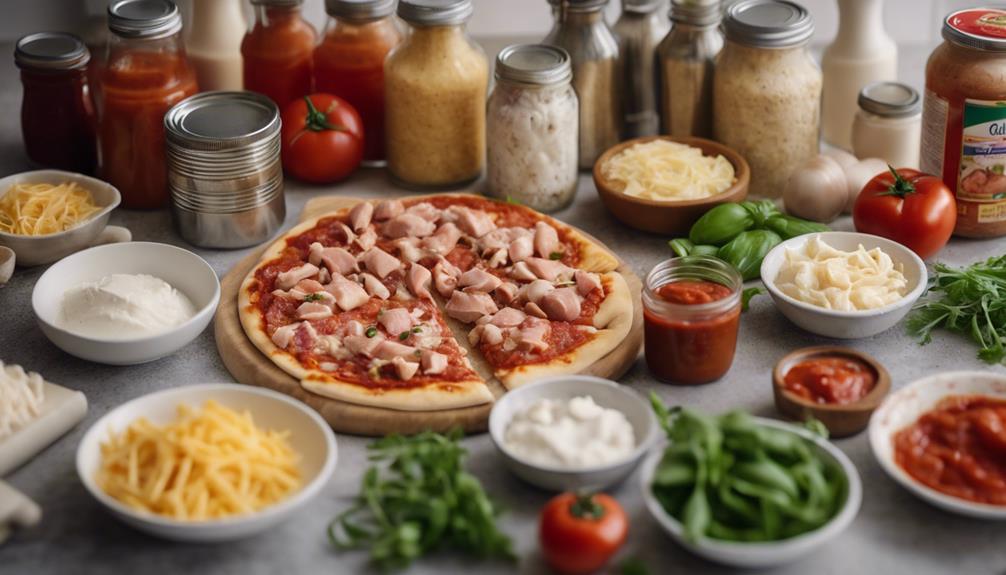
What ingredients do you need to make this delicious Canned Chicken Pizza recipe? When it comes to chicken options, you can use canned chicken for convenience or opt for shredded rotisserie chicken for a more flavorful twist. Cooking techniques vary from simply heating the canned chicken to seasoning and sautéing the rotisserie chicken with herbs and spices for an extra kick.
Now, let's talk about flavor combinations and ingredient substitutions. For the toppings, you can experiment with classic choices like mozzarella cheese, bell peppers, and onions, or get creative with ingredients like feta cheese, sun-dried tomatoes, or even pineapple for a unique taste. If you're looking to switch things up, feel free to swap out traditional pizza sauce for pesto or barbecue sauce for a different flavor profile.
Preparing the Pizza Dough
To get started on making the Canned Chicken Pizza, the first step is preparing the pizza dough. Achieving the right dough consistency is essential for a perfect crust. Here are some kneading techniques that can help you achieve the ideal texture:
| Dough Consistency | Kneading Techniques |
|---|---|
| Too sticky | Add a little flour while kneading |
| Too dry | Sprinkle water gradually and knead until smooth |
| Not elastic enough | Continue kneading for a few more minutes |
| Over-kneaded | Let it rest for a while, then knead lightly |
| Perfect | Smooth, slightly tacky dough consistency |
Before kneading, make sure the yeast is activated by mixing it with warm water and sugar. Let it sit for about 10 minutes until it becomes frothy. After kneading, allow the dough to rise in a warm place for approximately 1-2 hours. This rising time is important for a fluffy and airy crust. Once the dough has doubled in size, it will be ready for shaping into a delicious pizza base.
Making the Pizza Sauce
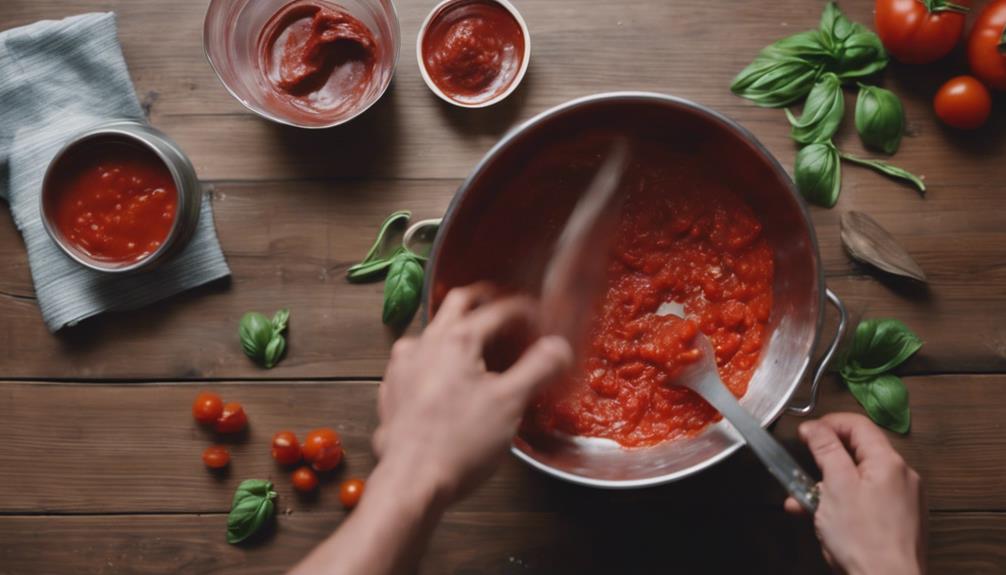
For a flavorful base to complement your Canned Chicken Pizza, start by preparing the pizza sauce. Begin by using tomato paste as the primary ingredient for your sauce. Tomato paste is rich in flavor and provides a thick consistency that pairs perfectly with the other toppings on your pizza. To enhance the taste of the sauce, consider adding flavor enhancements such as garlic, oregano, basil, and a pinch of sugar to balance the acidity of the tomatoes.
If you're looking to switch things up, alternative sauce options like pesto sauce can bring a unique and delicious twist to your Canned Chicken Pizza. Pesto sauce, made from fresh basil, pine nuts, garlic, Parmesan cheese, and olive oil, offers a vibrant and herbaceous flavor profile that complements the chicken and other toppings well. Experimenting with different sauces can add variety to your pizza nights and keep things exciting for your taste buds.
Whether you stick with a traditional tomato-based sauce or opt for a pesto alternative, the key is to establish a well-balanced and flavorful base for your Canned Chicken Pizza.
Draining and Shredding Chicken
Once your flavorful pizza sauce is ready, the next step is draining and shredding the canned chicken for your delicious pizza topping. To start, open the canned chicken and drain the liquid using a colander to remove excess moisture and concentrate the flavor. Then, using two forks, shred the chicken into small, bite-sized pieces for easy distribution on the pizza.
When it comes to flavor options, you can enhance the taste of your canned chicken by adding various seasonings like garlic powder, onion powder, or Italian herbs. These additions will elevate the overall taste of your pizza and make the chicken topping even more delicious.
In terms of cooking techniques, you can sauté the shredded chicken in a pan with a bit of olive oil to add a crispy texture before placing it on the pizza. Alternatively, you can simply sprinkle the shredded chicken directly onto the pizza before baking, ensuring it cooks perfectly in the oven. The cooking technique you choose will depend on your preference for the final texture of the chicken topping.
| Flavor Options | Cooking Techniques |
|---|---|
| Garlic Powder | Sautéing |
| Onion Powder | Baking |
| Italian Herbs |
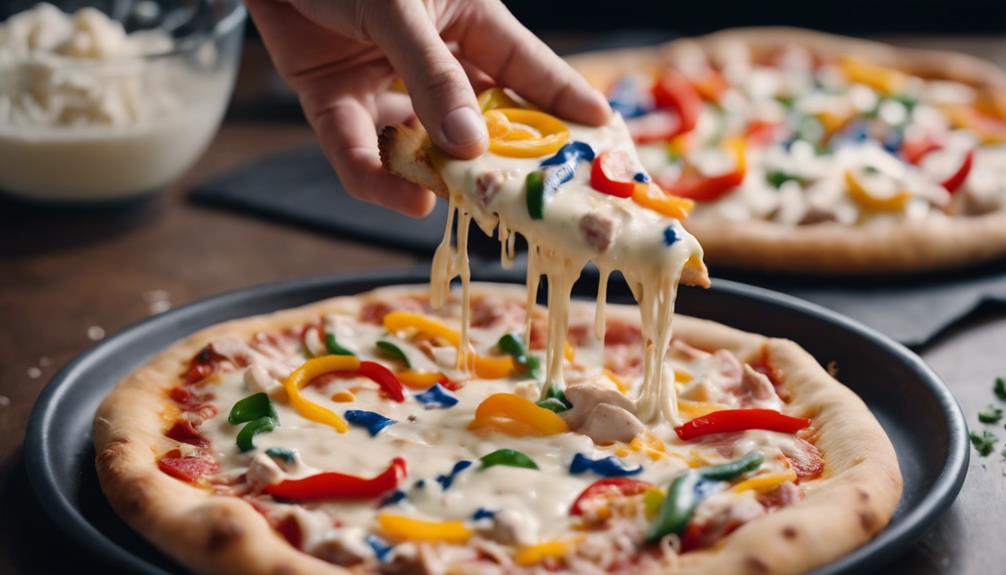
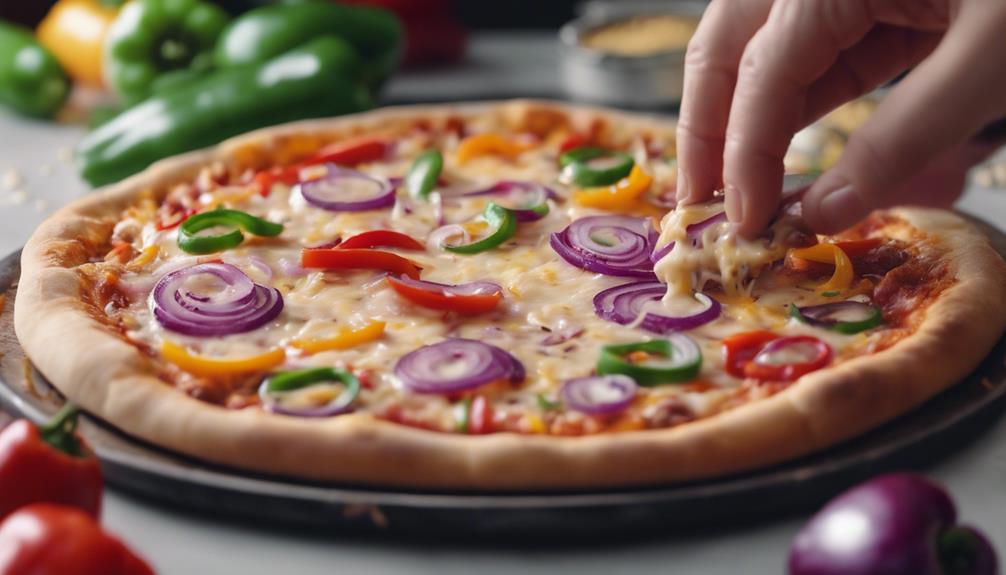
Assembling the Pizza
Wondering how to perfectly layer your ingredients for the ultimate canned chicken pizza experience? Let's delve into assembling your pizza!
When it comes to cheese options, mozzarella is a classic choice for its gooey melt and mild flavor. However, feel free to get creative with cheddar, parmesan, or a blend of cheeses to suit your taste buds.
As for crust options, you can go traditional with a thin crust for a crispy bite or opt for a thicker crust if you prefer a chewier base.
When assembling your pizza, consider cooking techniques to enhance flavors. Layer your canned chicken evenly to make sure every bite is packed with protein. Add your favorite veggies like bell peppers, onions, or mushrooms for extra freshness. Experiment with flavor combinations by sprinkling herbs like oregano or basil for an Italian twist, or add a hint of spice with red pepper flakes.
Now that you've got your cheese, crust, and toppings ready, it's time to move on to baking the pizza to perfection.
Baking the Pizza
To achieve a perfectly crispy crust and gooey cheese, bake your assembled canned chicken pizza at 425°F for 12-15 minutes. Once you have prepared your pizza with all your favorite toppings, it's time to pop it in the oven. Preheat your oven to the specified temperature and carefully slide your pizza onto a baking sheet or pizza stone.
Baking techniques are essential in ensuring your pizza turns out just right. The high temperature helps to cook the crust evenly and melt the cheese to that mouthwatering perfection. Keep an eye on your pizza as it bakes, checking for that golden-brown color on the edges and ensuring the cheese is bubbling.
The aroma of your pizza will soon fill the kitchen, making everyone's mouths water in anticipation. The combination of the canned chicken, pizza toppings, and bubbling cheese will create a delicious masterpiece. After 12-15 minutes, take your pizza out of the oven, let it cool for a minute, then slice it up and enjoy your flavorful creation.
Adding Final Toppings
For an extra burst of flavor, sprinkle some freshly chopped basil over your canned chicken pizza before serving. Adding final toppings to your pizza is where you can get creative and tailor the flavors to your liking.
Here are some ideas to elevate your canned chicken pizza:
- Flavor combinations: Experiment with different combinations like adding sweet pineapple chunks and smoky barbecue sauce for a tropical twist. Try mixing spicy jalapeños with creamy ranch dressing for a zesty kick.
- Topping options: Consider adding a variety of toppings such as sliced black olives, sun-dried tomatoes, or even a drizzle of balsamic glaze for a gourmet touch.
- Cooking techniques: If you want a crispy finish, broil the pizza for a few minutes after adding the final toppings. This will give your pizza a nice charred look and added crunch.
- Presentation ideas: Sprinkle some grated Parmesan cheese over the pizza right before serving to add a salty umami flavor and a beautiful finishing touch. Serve your canned chicken pizza on a wooden board for a rustic presentation that will impress your guests.
Serving and Enjoying
When serving and enjoying your canned chicken pizza, remember to pair it with a crisp green salad for a balanced meal. The freshness of the salad complements the savory flavors of the pizza. If you're hosting a pizza party, this combination is sure to be a hit with your guests.
For those looking to elevate their dining experience, consider wine pairings to accompany your canned chicken pizza. A light and fruity white wine like a Pinot Grigio can enhance the flavors of the chicken and cheese, while a medium-bodied red such as a Merlot can be a delightful match for the tomato sauce.
Whether you're enjoying a casual dinner with family or hosting a lively pizza party with friends, adding a salad and selecting the right wine can enhance the overall dining experience. The versatility of canned chicken pizza allows for creativity in pairing it with different side dishes and beverages. So, don't forget to set the table, pour the drinks, and savor each delicious bite of your homemade creation.
Storage Tips
Consider incorporating a labeling system to help you easily identify and access your canned chicken pizza in the refrigerator or freezer. Proper storage is essential for maintaining the flavor and texture of your pizza. Here are some tips to help you store your canned chicken pizza for long term freshness:
- Refrigerator: Place leftover slices or a whole pizza in an airtight container. This helps retain moisture and prevents the pizza from drying out.
- Freezer: If you want to store your pizza for an extended period, wrap individual slices in plastic wrap and then aluminum foil before placing them in a freezer-safe bag.
- Labeling: Use labels to indicate the date the pizza was prepared. This will help you track how long it has been stored and make sure you consume it before it loses its freshness.
- Thawing: When ready to eat, thaw frozen pizza slices in the refrigerator overnight for best results.
Variations and Customizations
Get creative with your canned chicken pizza by exploring different toppings and flavor combinations to suit your preferences. When it comes to topping options, consider classics like pepperoni, mushrooms, and bell peppers, or switch it up with pineapple, jalapeños, or even barbecue sauce for a unique twist.
Experimenting with flavor combinations can elevate your pizza to new heights – try a BBQ chicken pizza with red onions and cilantro for a tangy kick, or go for a Mediterranean vibe with feta cheese, olives, and sun-dried tomatoes.
Cooking techniques can also vary to customize your canned chicken pizza. For a crispier crust, preheat your baking sheet before putting the pizza on it, or try grilling your pizza for a smoky flavor. When serving your delicious creation, consider pairing it with a side salad dressed with balsamic vinaigrette or some garlic knots for a complete meal.
Whether you're a traditionalist or an adventurous eater, these variations and customizations will take your canned chicken pizza to the next level.
Conclusion
To sum up, canned chicken pizza is a fantastic and flavorful twist on a classic favorite. Elevate your pizza game with this simple and delicious recipe.
Impress your guests with a personalized creation that will leave them craving more. Get creative with toppings and enjoy a satisfying meal that's sure to please.
Give it a try and let your taste buds thank you!